![]()
MICROPHONE SANITIZER SNT-104
USER MANUAL
Release Date: 20201001
CAVS USA Inc.
8616 Phoenix Drive
Manassas, VA 20110
www.CAVSUSA.com
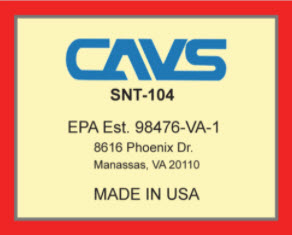
2.1 EPA Establishment Registration Number
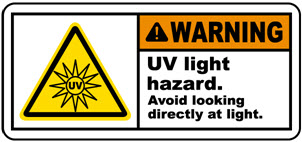
2.2 UV Radiation Warning
2.3 Antimicrobial Efficacy Study Report
Test Facility: MicroChem Laboratory, 1304 W. Industrial Blvd, Round Rock, TX 78681
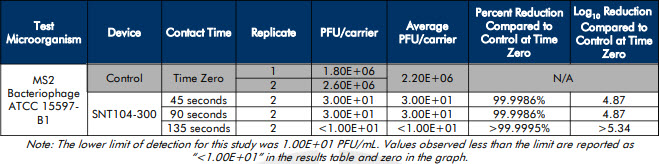
For full report, go to https://cavsusa.com/snt104.
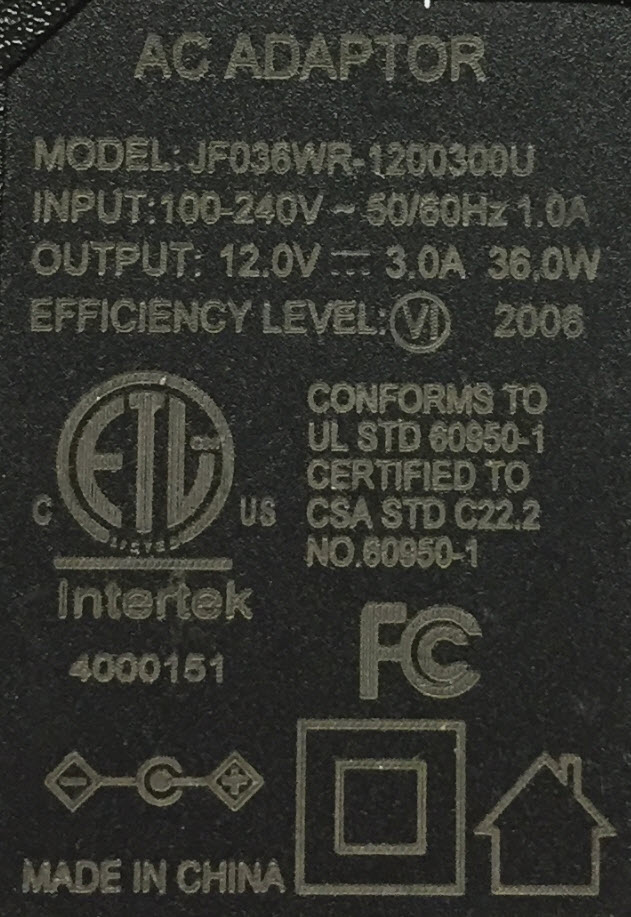
2.4 Safety Certification for Power Supply PSU104
ETL 4000151, UL STD 60950-1, CSA STD C22.2 NO.60950-1, FCC
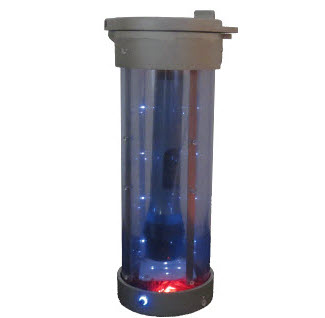
3.1 Place the sanitizer upright and connect the power supply as shown in the picture below. The wall outlet can be power source 110V - 240V 50/60Hz.
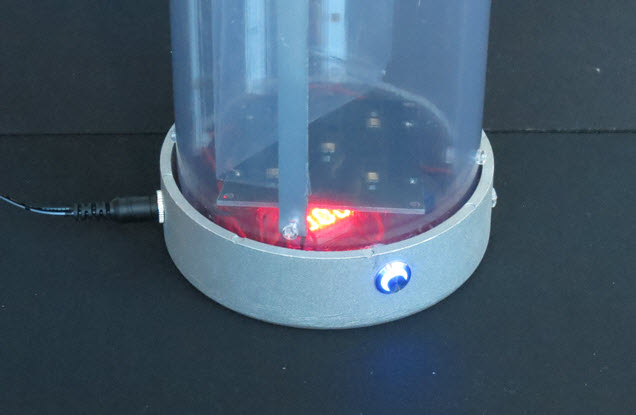
Note that the starter switch turns on with a blue ring when the power supply is connected.
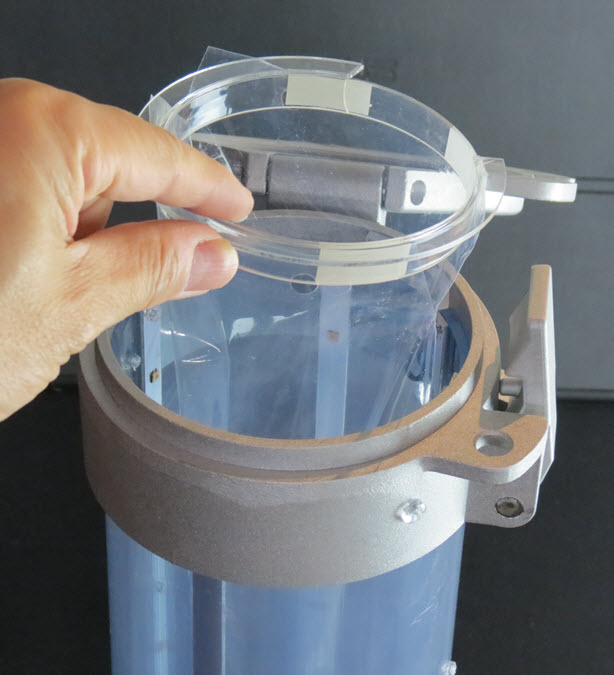
3.2 Release the latch and open the cap as shown in Step 1 and 2 below.

The starter switch below will become disabled with the blue ring light turned off.
3.3 Confirm that the FEP bag (Part No. FBS104) is located properly inside the sanitizer. It has a circular lip to hold the FEP bag at the top of the sanitizer and a cutoff to accomodate the contact safety switch.

Note that the FEP bag is of high strength Fluorinated Ethylene Propylene material that is transparent to the UV-C rays and yet strong enough to hold the microphones inside. Only use the authorized FEP bag replacements to sanitize effectively and prevent premature breakage which can cause serious damage to the UV-C modeules inside. Contact service@cavsusa.com to order the replacement FEP bags.
3.4 Insert a microphone into the sanitizer. Do not drop the microphone like it is an air raid into the sanitizer. Such abuse will shorten the life of the FEP bag. Place the microphone gently into the sanitizer and close the cap.
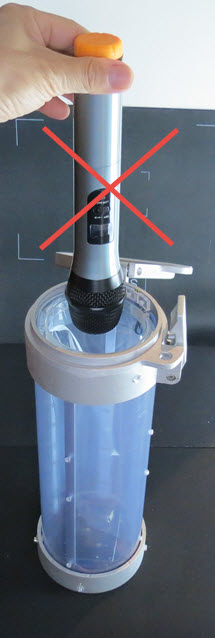
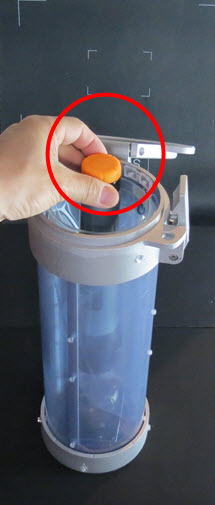
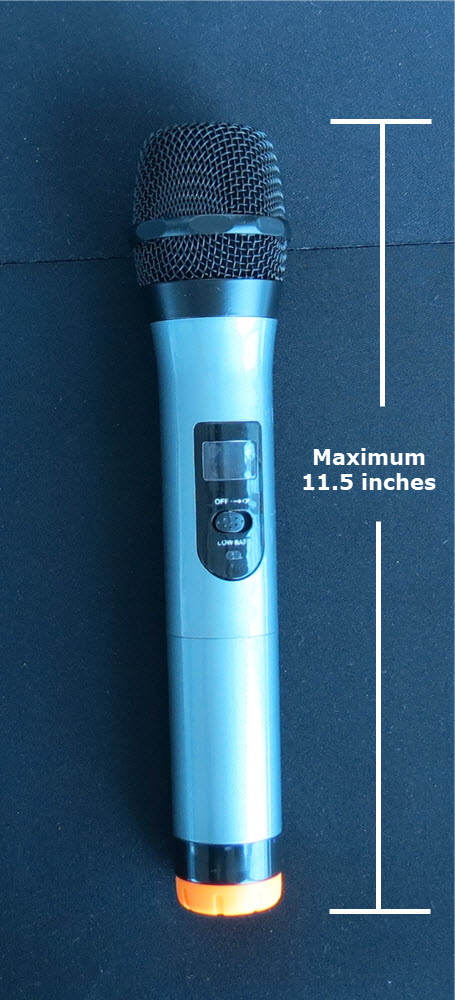
The sanitizer can accomodate microphones of length up to 11.5 inches.
3.5 Close the cap. The starter button will become enabled with the blue ring light turning on. Press the starter button to begin the sanitization. A single cycle will run 45 seconds during which 99.99% of viruses and bacterias will be killed. You can repeat the cycle as many times as you wish. The laboratory tests show that after the third cycle (total 135 seconds), there are no detectable viruses or baterias remaining.

3.6 To interupt a sanitization cycle, press the starter button again at any time.
It will terminate the UV-C rays and reset the timer.
If the cap is opened at any time during a cycle, the power supply to the sanitizer will be cut turning off the UV-C rays.
When the cap is closed, the the power supply to the sanitizer will resume and the starter button will be enabled with the blue ring light turning on.
This section will be updated with feedbacks from customers and venues.
4.1 Best way to clean the microphones.
CAVS UV-C sanitizer will kill the germs that are on the surface of the microphone. However the germs that exists underneath the dirts or grimes may not be reached by the UV-C rays. We recommend to wipe down the microphones with a dry or wet wipes before putting them into the sanitizer for full disinfection.
4.2 How to clean the FEP bag.
The FEP bag can be cleaned with dry or wet wipes. Another name for FEP is Teflon. It is strong and not likely to be damaged by water or cleaning liquids unlike other plastic materials. We recommend to keep the FEP bag clean of any dirt or grimes to let the UV-C rays shine through and disinfect the microphones effectively.
4.3 How to clean the UV-C LED modules inside the sanitizer.
The LED modules inside the sanitizer can be cleaned with dry wipes. A wet wipes or spray solution are not recommended. Use the dry wipes to dust without damaging or scratching the protective crystals covering the LED chips on the modules.
END